Learn to add Third-Party Software Application in Plesk
In this tutorial we are going to understand how you can find and install third-party software applications using Plesk.
To your website third-party applications allow you to add additional features and functionalities.
#Below are the Steps to find and install the application :
1. Using login details Log in to Plesk.
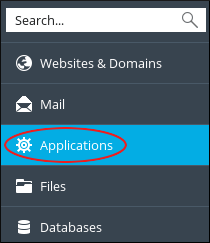
2. Click on Applications from the menu list of the left sidebar . Applications page will get open.
3. Click on All Available Applications on the Applications page. This section of the page displays all the applications that are available for installation as well as free commercial application.
4. After that click on the application name to learn more about it.
5. To install the application Click on Install.
6. the installation page can seem, complete the fields displayed and finally click on Install. Plesk will install the application.
# Steps to manage applications :
1. Log in to Plesk with root.
2. Click on Applications that you will find in the left sidebar.
3. From the Applications page Click on Manage My Applications .
4. Look for My Apps section, and click on the name of the application that you wish to manage.
5. Actions on application page :
• Click on Change Settings, If you to change the application settings.
• Click on Remove, If you want to delete the application from your account .
• For the application If you want to access the administrative page , then click on Administrative interface under Administrative access entry points .
• If you want to view the public-facing site, then click on Site under Public access entry points.
That’s it. In this way your software application has been added.