How to Register Email Accounts in Mac OS and Mail?
The article will explain in detailed the steps about how to configure your Email account in Mac Mail application.
Step 1:
Navigate to the Mail menu in Mac Mail. choose Preferences within the submenu

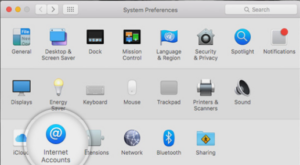
Step 2:
The System Preferences screen will appear, from that in submenu choose the Internet Accounts to proceed.
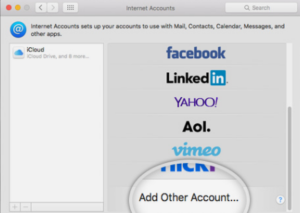
Step 3:
You will get a list of all the different accounts in the Internet Accounts . Move down & select on Add Other Account option.
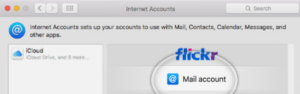
Step 4:
After that, On the next screen click on Add a Mail Account .Then you will get a popup screen where you have to fill details like your name and the Email address that you will be registered with Mac Mail.
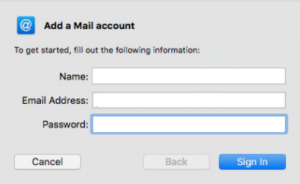
Note: The name that you will enter here is going to be displayed to whom you send emails. You can change these option later on it needed.
Finally, Click on Sign in to proceed.
Step 5:
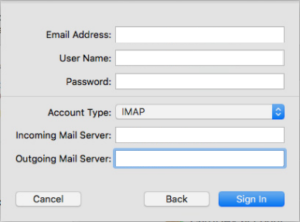
In the popup screen You will be prompted to enter the server settings of your Email Account.
Email Address: The email you’ve entered in the previous screen it shows the pre-filled value here.
Username: Here the full email address should be used as usner that shall be futhure used for incoming and outgoing connection
Password: here yobu will enter the password for your email account.
Account Type: Its by default set IMAP. Change it if you specifically want to use POP3. Else its optional.
Incoming Mail Server: Unless you have a specific MX records configuration for your domain name Enter yourdomain.com.
Outgoing Mail Server: Here you will enter value same as that the incoming server.
After successful filling of the details , click on Sign In to proceed.
Step 6:
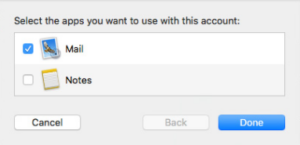
After that, you will be asked to select the programs you want to use with this account. Here on the basis of the applications that are being installed on your account the options will get displayed.