How to Install WordPress on a subdomain using cPanel
To install WordPress on subdomain you initially need to create a subdomain through cPanel by using the steps as defined below,
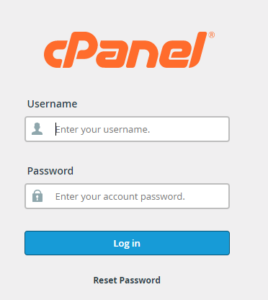
Step 1: Login to cPanel using your login details.
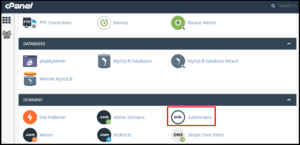
Step 2: Please scroll down a little bit and check the Domains section within the cPanel home screen and click on Subdomains.
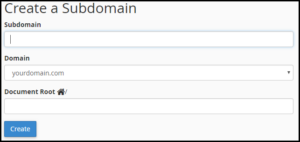
Step 3: in the text box provided to you please type the Subdomain name you wish and click on create to make it live.
Now your subdomain is ready and now you can install WordPress from softaculous on your fresh created subdomain to begin with blog or web site.
Below are the steps to install WordPress on subdomain
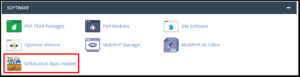
Step 1: On the cPanel home screen scroll down and look for the Software and Services section in that click on Softaculous Apps Installer.
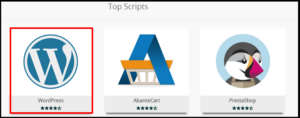
The Softaculous installer page can seem with totally different top scripts,
Step 2: Click on WordPress – Install and in the different textboxes that are provides to you enter all the information needed .
Step 3: Choose the appropriate Protocol from the given list box. If you’ve got an SSL certificate installed on your web site, choose https:// or https://www otherwise choose http:// or http://www to continue the installation.
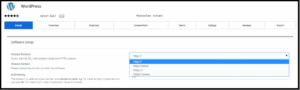
Step 4: From the Choose Domain list box Select the subdomain.
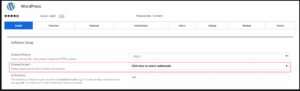
Step 5: You have leave the Directory text box empty.
Step 6: Now fill up with Website name, Admin details (use a strong password) and Choose the preferred language.
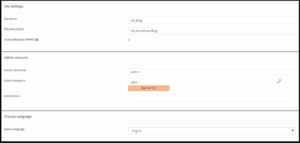
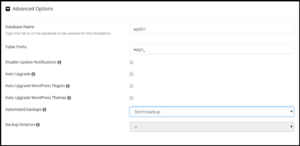
Step 7: After that create a new database by giving a name in Database Name text box or accept the default value.
Step 8: Now you can add a new database table prefix, or accept the default value.
Step 9: Auto Upgrade WordPress Plugins – If Auto Upgrade is marked check, then all the WordPress plugins that are activated for installation will be automatically upgraded to the latest version when your script installation is upgraded.
Step 10: Auto Upgrade WordPress Themes – If you marked checked, the WordPress theme which will be actived for this installation will be automatically upgraded to the latest version once your script installation is upgraded.
Step 11: Automated backups – In this Softaculous can take automatic backups via CRON as per the range you choose once a day, once a week or once a month.
Step 12: Backup Rotation – If the backup rotation limit is reached Softaculous can delete the oldest backup for this installation and make a new backup. The backups can utilize your space therefore choose the backup rotation as per the space provided on your server.
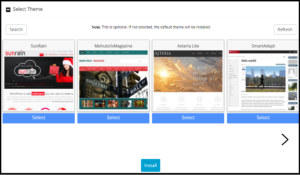
Step 13: Choose the WordPress theme and then Click on Install to begin with the WordPress installation on the sub domain that you have created.
For any other problem related to your WordPress blog or website, please free to contact anytime, our 24/7 – phone and technical support team.