How to Change the WordPress Admin Username
The following tutorial will explain how to change the WordPress admin username with a simple to use plugin.
Why change your admin username?
Although most new installations of WordPress currently need individual usernames, some one-click installers and most older sites have the default username ‘admin’. because the username is one half a user’s login credentials, admin usernames have an extended history of being the target of brute force hacking attacks. Similarly, even though you’ve got a distinct username, you will want to vary it if you suspect others know what it is.
How to update the WordPress admin username
There are different ways to change the username, here, we will explain the fastest and easiest method, using a simple plugin. To do this, follow these follow the steps:
1. Log in to your admin panel.
2. Scroll to Plugins > Add New.
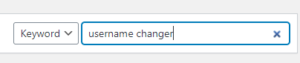
3. Type ‘username changer’ in the search bar.
4. In the search results, find the Username Changer plugin and click the Install Now button.

5. Navigate back to Plugins > Installed Plugins. Find the Username Changer plugin in the list and click Activate.

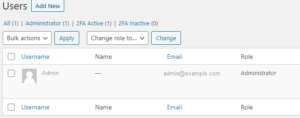
6. Now the plugin is installed and activated, you can begin the process of changing the username. First, navigate to Users > All Users in the admin panel.
7. Find the admin user in the list of users.
8. Click on the user’s name to open their Profile page.
9. On the Profile page, scroll to the Name section, find Username and click on Change Username.

10. You will then be able to delete the existing username and type a new one.

11. When you have created the username, click the Save Username button.
12. Finally, to complete the process, scroll at the bottom of the Profile page and click on the Update Profile button. Your username is now updated. Remember, you will also need to use this new username from now on whenever you logging into your website’s admin panel.
Note: this process will only change your UserName and does not update your password. That will remain the same.
Leave a Reply