 LiveChat
  Support
How to Manage SSH keys in cPanel
By using cPanel you’ll be able to create, import, manage and remove SSH keys. These keys are used once confirming a specific computer has the right to use SSH to connect to your web site.
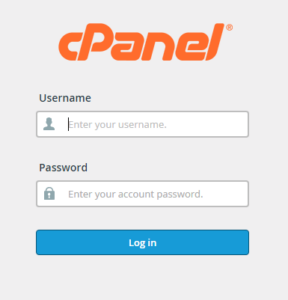
Step 1: Login to your cPanel.
Step 2: Click on the SSH Shell Access in Security section of cPanel, to Manage SSH keys .
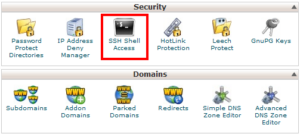
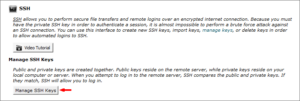
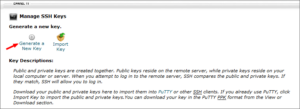
Step 3: Click on Manage SSH keys.
Step 4: Click on Generate a New Key, to set up a new SSH key, .
Step 5: In the Key Password text box, add the required password and click on Generate key.
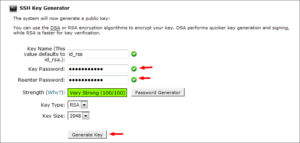
Step 6: Now your SSH key will get generated, click on Go Back.

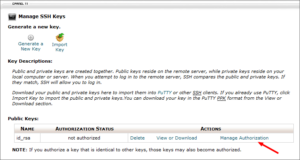
Step 7: The public key remains on the server whereas the private key is what you have got to download and save to the computer you may be accessing your server from, however before that, you have got to authorize the public keys so it works. Click Manage Authorization.
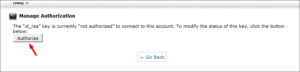
Step 8: Then click on the Authorize button and once the key has been authorized click on Go Back.
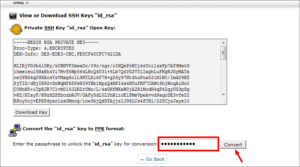
Step 9: Let’s view the Private key and by entering the password convert the key into the PPK format and click Convert.
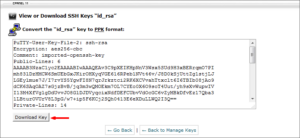
Step 10: You will be able to download the key by clicking on Download Key.
Step 11: Thus the SSH key has been set up and it is able to use to securely log into your server with SSH.