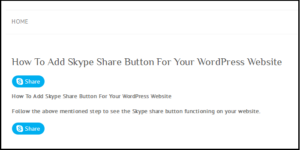
How To Add Skype Share Button For Your WordPress Website
Skype is one the foremost rife communication applications within the world that focuses on providing voice call services and video chat. Let see the way to add Skype share in WordPress.

Adding Skype Share Button In WordPress
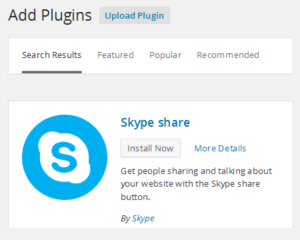
- First install and activate the Plugin Skype share.
2. After activation, select Settings >>> Skype share button options

3. Click on Setting to configure the plugin
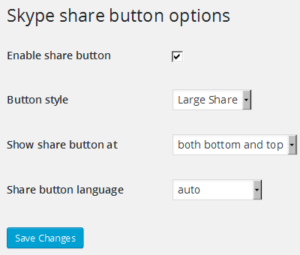
4. To permit the Skype share button, tick the Enable share button option.

5. Select a Style for the Skype share button from the available choices in the drop down menu –
- Large Share
- Small Share
- Circle Icon
- Square Icon

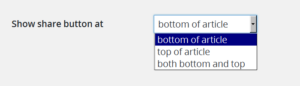
6. Select the location to display the Skype share button on the article from the following available options:
- bottom of the article
- top of the article
- both bottom and top
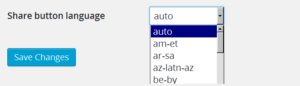
Skype share is adept to auto find the language of your WordPress web site. In case, it doesn’t then choose the language manually.
7. Click on Save Changes button to save the settings.
 Once this get’s completed, you will able to see the Skype share button functioning on your website.
How to Manually add Skype Share in the WordPress Template
If you need to manually add Skype share in your theme files, then follow the below code.
In the head section of your file, you have to add the script as followed. This may be directly done by editing the header.php file or by making use of Enqueue scripts.
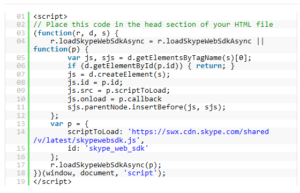
Now in your single.php, index.php, loop.php, category.php, index.php and archive.php add the below code given which is to be placed in the post loop.

The data-style will be modified to small, large, square or circle. Even the language will be set to the required language.